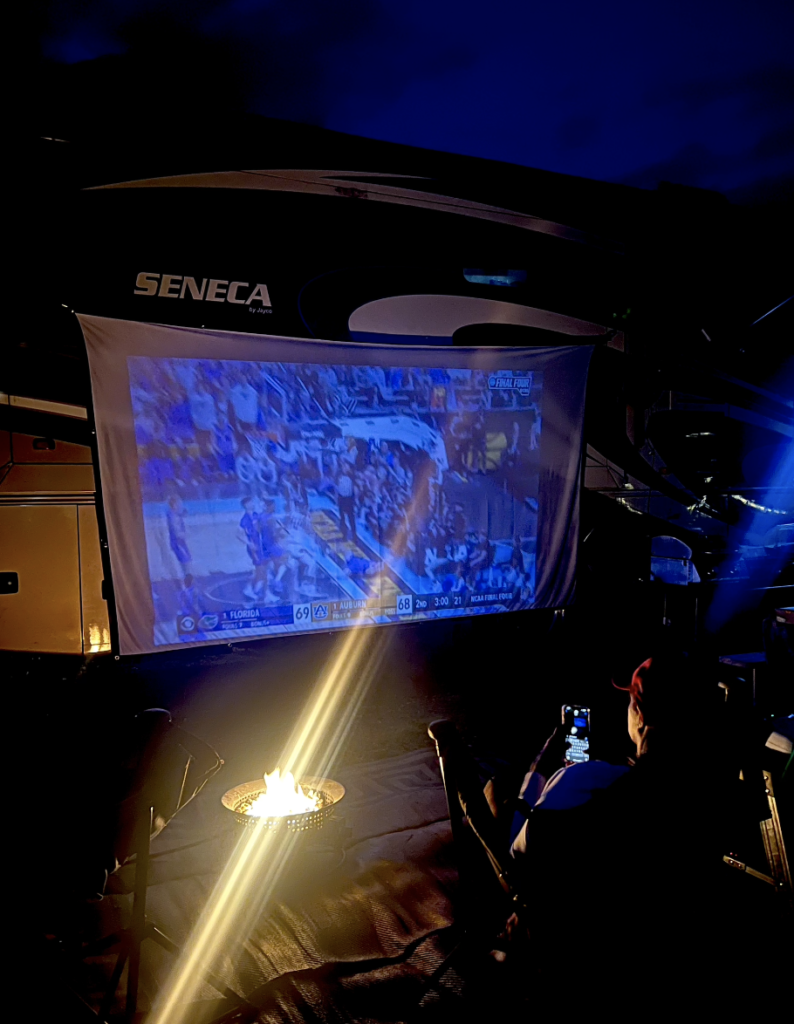
There’s nothing quite like relaxing by the campfire and watching a movie under the stars. With just a few simple items, you can transform your RV campsite into a cozy outdoor movie theater for the whole family to enjoy.
Here’s how to set up a projector screen on your RV using gear that’s easy to pack and quick to set up.
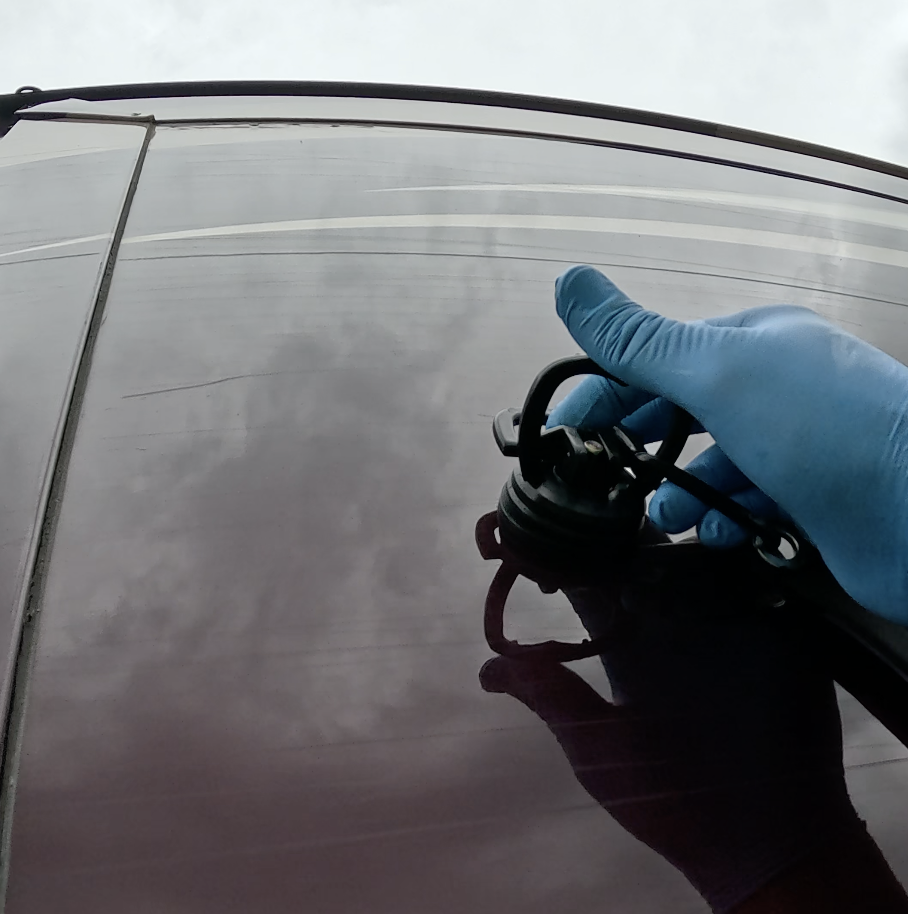
These heavy-duty mini suction cups allow you to attach the screen directly to the exterior of the RV—no drilling, tape, or damage required. The built-in handles allow for easy setup and removal and stick to most RV exterior walls.
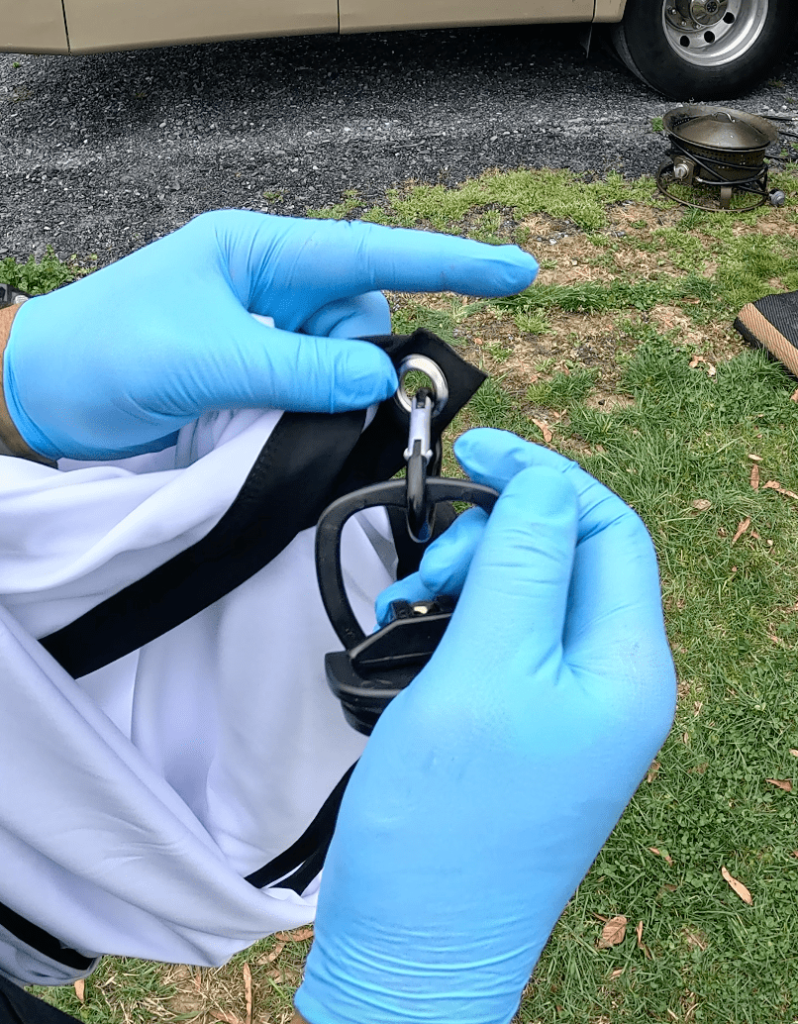
Use carabiner clips to connect the screen’s grommets to the suction cup handles. They’re compact, provide a strong hold, and make the screen quick to hang and remove.
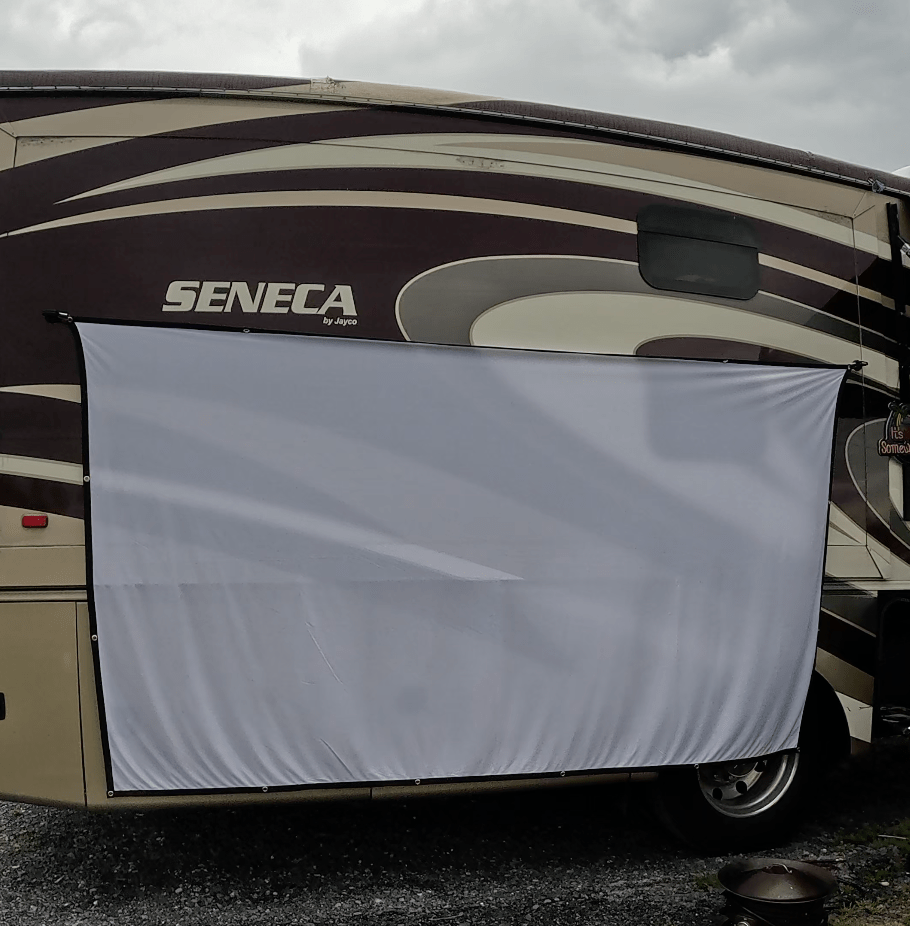
A foldable, washable fabric projector screen for RV is ideal, especially for travel since it doesn’t take up a lot of space. And if it falls on the ground any dirt can be washed off without damaging the fabric. Choose one with metal grommets so it’s easy to clip onto your suction cups.
Choose a compact, portable projector for camping that supports at least 1080p resolution. There are a ton of options that even have built-in WiFi or HDMI ports for streaming from your phone, tablet, or laptop.
How to Attach a the Projector Screen to Your RV
Clip your carabiners to the top corners of your fabric screen.
Clip the Carabiners to Suction Cup Handles.
Choose the flatest surface (like the side of your RV or a slide-out) and press each suction cup firmly into place.
Place your projector on a table or tripod. Connect it to your media device via HDMI or screen casting. Use a portable power station if you’re off-grid, or plug into shore power and power on the projector.